
Hey trailblazer! You just Installed / setup your VS Code ?
That’s great, you’re at the good place to follow this tuto on how to link your VS Code and your Salesforce Org with SFDX.
What is an SFDX project
First of all, what is an SFDX project?
Well, the SFDX project that we’ll create will contain the Triggers, Apex, LWC codes you, as a developer will create.
But not only.
SFDX projects contains the metadata you’re working on when configuring Salesforce:
- Objects
- Fields
- Validations rules
- Layouts
- Escalation rules
- Profile, Permission Sets, Groups…
- … and many many more!
So you got it, SFDX project is were you can store nearly ALL you Salesforce configuration as files. This is a very good news for when you’ll need to move configurations from one org to another and then release to production 🙂
On top of that, you can use a versioning system like GIT (Github, Bitbucket, GitLab) to store these configuration, share it with all devs, Architects and team members and put devOps on top of that (but that’s no today’s topic)
Create an SFDX project
If you are starting on a project that has already an SFDX project from an existing team, get it locally on your computer (from GIT for example)
And jump directly to the next chapter of this tutorial: Connect / Authorize org
First of all, open VS Code and let it load all the extensions configured. It may take a couple of minutes before it’s ready.
Then follow these instructions:
- Press: “CTRL + SHIFT + P”

- Type: “SFDX: Create Project” and hit Enter

- Click on Standard

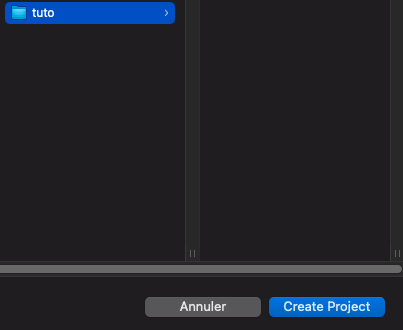
- Type a name for your project (SFDX_NAME_OF_YOUR_COMPANY is a good one) and press Enter

- In the select folder window, select a Folder where your SFDX project will be created and click on Create Project
Congratulations!
At this step, you have created an empty SFDX project, ready to receive all the metadata you’ll create to configure your Salesforce Org.
Let’s have a look on the left on the created project.
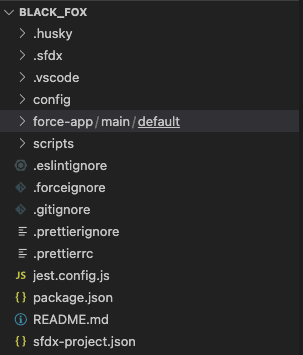
For the moment, the most important folder is the “force-app/main/default” folder. If you open it, you’ll see the following folders:
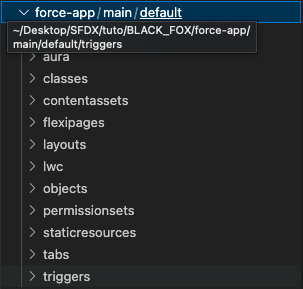
As you can see, the metadata will be stored there: Layout, LWC, objects… for the moment, these folders are empty. Depending on what you’re busy on working on Salesforce, some folders will remain empty, other will be created… it depends on what you will configure.
Note: For the moment, the project is not linked to your Salesforce Org. We’ll do it in the next chapter.
Connect / Authorize an ORG
You have created your brand new OR was able to retrieve the existing one?
Good job! Now it’s time to connect to your Salesforce Org to push / retrieve metadata to it so that you can start to work.
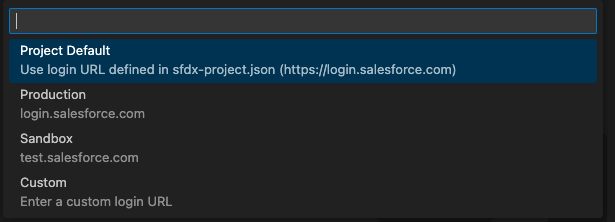
- Press “CTRL + SHIFT + P” and then type “SFDX: Authorize an Org” and press ENTER

- In the next “Screen” you have the choice of URL to choose to log in. Please choose the appropriate, depending if you log in a Sandbox / Production / With a custom URL. From my part, I always log in with custom URL (make sure to have it in your clipboard to paste it in the next screen)
- If you have chosen the Custom URL, paste the URL in the next prompt and Press enter:

- Last wizard STEP, give a name (Alias) to the org you are currently connecting. This is very important to identify it and differentiate your orgs (DEV / UAT / TEST / PREPROD / TRAINING / PROD…) and avoid mistakes, you got me 😉

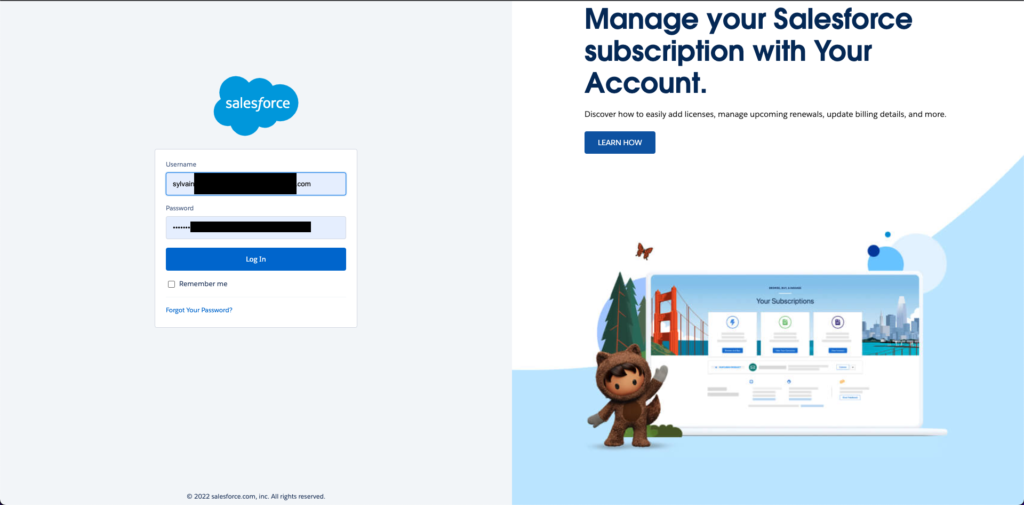
It will open a browser with a login page to your org. Enter your credentials (or use SSO if it’s set up) and log in
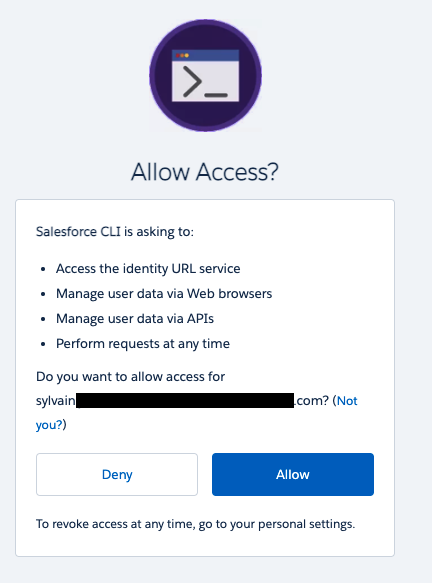
- Once logged, the page is asking for a confirmation to grant access to the Salesforce CLI, please accept by clicking on Allow
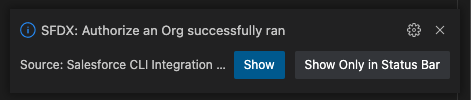
When you go back to your VS Code, you can see that the Org Authorize have worked and your org is now “connected” to your VS Code. Congratulations!!!
Now, Open a command line terminal, and copy/paste the following command that will list your connected Orgs.
sfdx force:org:list
You should see the org you just connected in the list. Congratulations again!
Create an Apex Class and Deploy it
I know we have already done a lot, but let’s go and create a class in our org and deploy it
Go to VS Code, open the force-app/main/default folder and right-click on the “classes” folder. Then click on “SFDX: Create Apex Class”

Give you class a name…

And hit enter again to select the default class directory

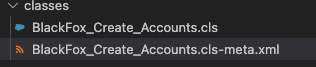
Note that it will create two files:
- The class itself, containing the code
- The class containing the metadata information
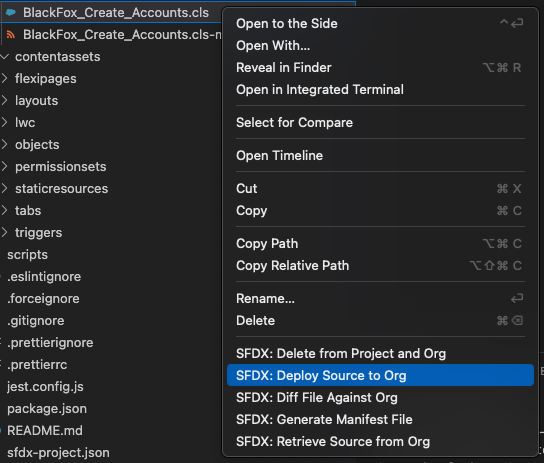
Right click on the class file and select “SFDX: Deploy Source to Org”. Magic: your class is now deployed on Salesforce!!
Run Unit tests
Do not forget. Do not forget that to be deployable in production , your code MUST (and this is non negociable 🙂 ) at least 75% of Unit test code coverage.
So, let’s go for Unit tests and Run them from VS Code.
For that, I updated the code of my class with a method that created 10 Accounts with a prefix name given in parameter:
public with sharing class BlackFox_Create_Accounts {
    public static void createAccounts(String prefix){
        List<Account> accountsToCreate = new List<Account>();
        for(Integer i = 0 ; i < 10 ; i++){
            Account loopAccount = new Account();
            loopAccount.Name =  prefix + i;
            accountsToCreate.add(loopAccount);
        }
        insert accountsToCreate;
    }
}
And I also create the associated Test class that I also deploy:
@isTest
public with sharing class BlackFox_Create_Accounts_Test {

    @isTest
    public static void testAccountCreation(){
        String prefix = 'Account Created from generator';
        BlackFox_Create_Accounts.createAccounts(prefix);
        String queryParam = prefix + '%';
        List<Account> createdAccountByMethod = [SELECT Id, Name FROM Account WHERE Name Like :queryParam];
        System.assertEquals(10, createdAccountByMethod.size(), '10 Accounts should be created by the account');
    }
}
When you create the class, you will see “Run test” next to the method name:

Click on it to run the test on Salesforce. After a couple of seconds, you’ll see the Unit Test result directly in the VS Code console. Awaesome:
